Two types of bobbin are available:
- Bobbin drive system with bolt (X401, series)
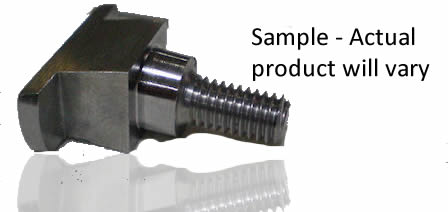
- Bobbin drive system with integral stud (X405 series)
Assembly procedure
- Place the bobbins in the slots in bell, with the ‘ears’ of the bobbin at right angles to the outside diameter of the bell, unless otherwise specified.
- Push the bolt through the bobbin so that it engages in the disc.
- Apply a small amount of thread retainer, enough to cover 2-4 threads, to the portion of bolt protruding from the disc. Fit a nut onto each bolt and finger tighten.
- Tighten the nuts in a star sequence, rather than a rotational sequence, to the specified torque using the appropriate tools. Prevent the bolt from rotating when applying the specified tightening torque to the nut. Do not hold the nut and tighten the bolt as it will cause the bobbin to rotate and the bell will lock up.
Where bobbins with integral studs are supplied (405 series bobbin) Alcon tool TSB3430X577 is available and is used to prevent the bobbin from rotating during tightening. This tool can also be used to ‘square’ both 401 & 405 series bobbins after tightening to ensure the bell is not locked up. Once assembled, the bell should be a ‘rattle’ fit on the disc and bobbins.
Once assembly is complete, use feeler gauges to check that the float between the bobbin and bell is correct and uniform on all bobbins.
General notes
- Ensure that all parts are clean and grease free
- Approved thread retainer: - Loctite 243 (Blue)
- Tightening torque: 0.25” UNF 16-18Nm (11.8 – 13.3 lb ft)