- Maintenance Parts
- bobbin
- rotor
- bolt
- only
- kit

Product Features
 Authorized Alcon Brakes Dealer
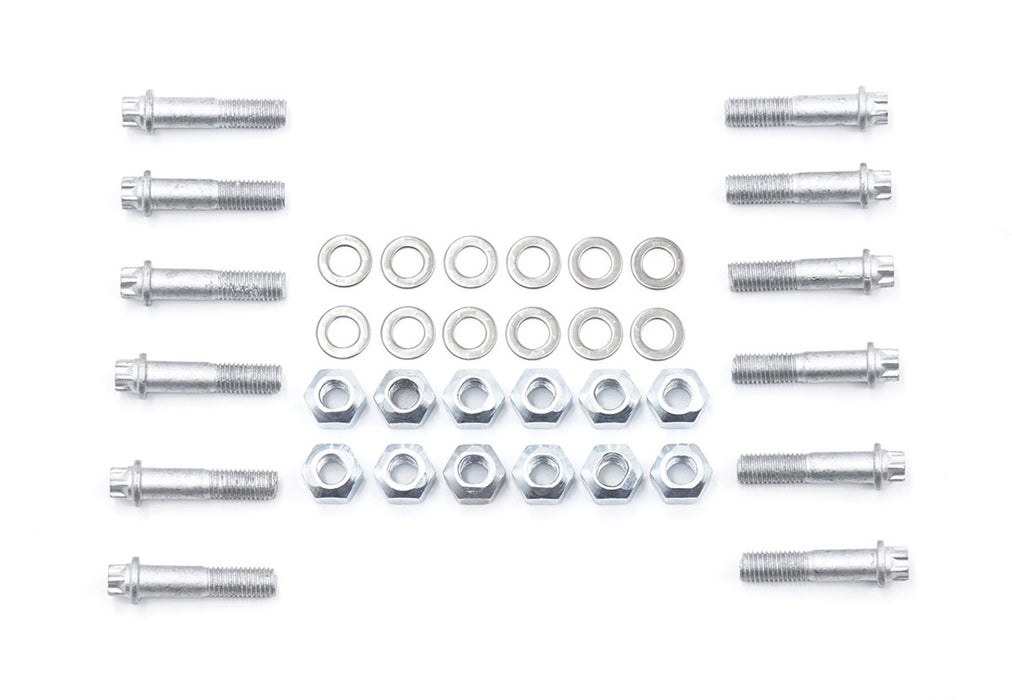
T-Bobbin (A) rotor bolts and nuts hardware kit for floating 2-piece rotors
-Includes:
-Assemble torque specs: 10.5 lbf-ft / 14 Nm
Replacement of Alcon "Bobbin drive system with bolt" hardware
We recommend using new hardware every time when replacing rotor rings. If there is no visible wear, bobbins and spring clips can be reused. A bolt kit that includes bolts, locking nuts, and washers is available for purchase.
Replacement of Alcon "Bobbin drive system with bolt" hardware
Assembling / Re-assembling Instructions

:
Step 1: Disassemble the used 2-piece rotor. Discard used bolts, locknuts, and washers. Inspect remaining hardware for wear. Bobbins and McLaren spring clips may generally be re-used more than once if there is no visible wear.
Step 2: Inspect used aluminum hat and rotor surface for any damage or wear. Clean aluminum hat and rotor surface to remove any contaminants and ensure the aluminum hat is flush against the rotor.
Step 3: Locate “U” clips into hat slots. Locate bobbins into hat slots. Align mounting holes of the hat with mounting holes of the rotor, and locate onto rotor. Inspect and ensure all bobbins are located properly in the holes of the rotor.
Step 4: Apply a small amount of high temperature threadlocker to cover 2-4 threads at the end of all bolts (Recommended: Loctite 243 or equivalent).
Step 5: Holding the aluminum hat onto the rotor, lift the assembly into vertical position. Locate the McLaren spring clips onto the wheel facing surface of the aluminum hat.
Note: The flanged side of the spring clip should be facing the center of the rotor.
Step 6: Assemble the bolts from the outside of the rotor, through the McLaren spring clips & bobbins. Locate washers onto the bolts from the inside of the rotor. Loosely assemble the locknuts (hand-tight).
Step 7: Inspect prior to tightening to ensure all components are installed properly. Tighten and torque all lock nuts in the sequence pattern shown below to 14 Nm / 10.5 lbf-ft
SKU: PRH.TA.8.BK
Yes, some general automotive retailers and online marketplaces may list Alcon brake kits or individual components. However, Alcon brake systems are engineered, vehicle-specific systems, not commodity parts.
When purchased from Alconkits.com, you are buying directly from a specialist Alcon distributor with deep application knowledge, fitment validation experience, and long-term service support. This ensures you receive the correct configuration, pad compound guidance, wheel-clearance assistance, and ongoing support throughout the life of the brakes.
Alconkits.com specializes exclusively in Alcon brake systems. We are not a general parts reseller.
When you buy from Alconkits.com, you get:
Most marketplaces can sell a box. We support the entire brake system lifecycle for as long as you own it.
Alcon brake kits are engineered systems, not assembled collections of parts.
Each kit is designed with:
This results in more consistent pedal feel, better heat management, and superior durability compared to budget or generic big brake kits.
No. Alcon brake kits are application-specific.
Vehicle weight, intended use, rotor size, caliper configuration, and pad compound all matter—especially on high-performance cars and trucks. Selecting the wrong configuration or pad compound can reduce braking performance, increase noise, or accelerate wear.
This is why buying from the specialist distributor, Alconkits.com, matters.
Manufactured by Alcon Brakes, we recommend this as being suitable for the following driving styles:
This is THE question to ask. Alcon brake systems are fully serviceable.
When you purchase from Alconkits.com, you have long-term access to:
This is a major advantage over marketplace sellers who may not support the product after the sale. We know what fits, we stock it, and we don't sell you parts you don't need.
Alcon brake kits are built to deliver higher performance, durability, and consistency than OEM or budget aftermarket brakes.
The cost reflects:
This is not a cosmetic upgrade—it is a functional braking system designed for demanding use.
Yes. Alconkits.com is an authorized and specialist Alcon distributor with one of the largest Alcon-focused catalogs and knowledge bases available.
Our team has extensive experience supporting Alcon brake systems across trucks, SUVs, performance cars, and specialized applications.
Alconkits.com provides lifetime technical support for Alcon brake systems purchased through us.
Our support resources include:
Brakes are a critical system—our goal is to make sure you get it right.
We make it easy - connect with us the way its convenient for you.